Level 1439 · Completion reviewed
Color Block Jam Level 1439Two crosses and four numbered blockers
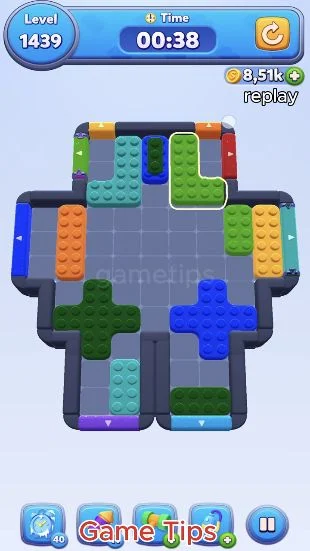
The blue and green crosses need the wide middle of this hourglass board. Free the lower lanes before bringing either cross upward. The successful replay works the L-shaped pieces around the numbered blockers, then uses the open centre to clear both crosses.
BEFORE YOU START
Does this match your board?
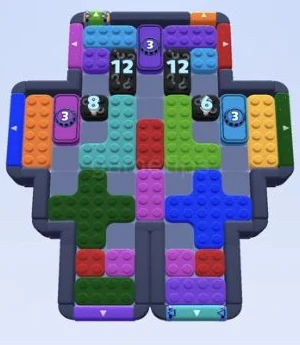
- Green cross on the lower left; blue cross on the lower right.
- Two black blocks marked 12 near the top; 8 and 6 at the sides.
- Three small framed pieces marked 3; a wall splits the two bottom pockets.
Different board? Use the screenshots, not just the level number. Stop if the shapes or gates do not match.
Successful replay starts around 2:40 ↗FOLLOW THE ORDER
Your route, one checkpoint at a time
0 / 5 Checkpoints completed
Each image shows the target for that section. Open the video at the beginning of the section for the individual drags, then compare your position with the image.
- 01
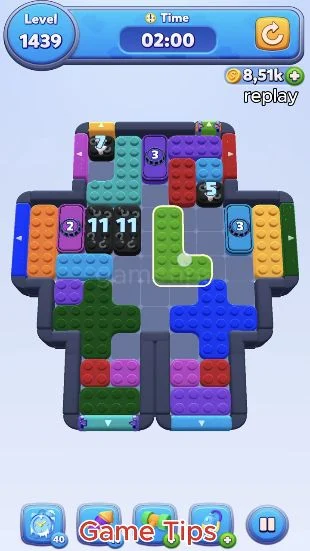
Use the middle to reposition the green L
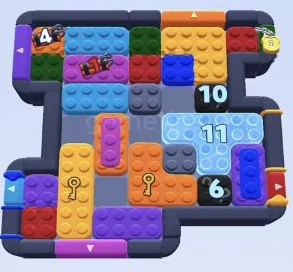
The cyan L has moved up the left side, and the green L can come down into the centre above the blue cross. The two central numbered blocks both read 11. Keep the blue cross in its lower-right pocket while you make these smaller-piece moves.
Watch this section · 2:40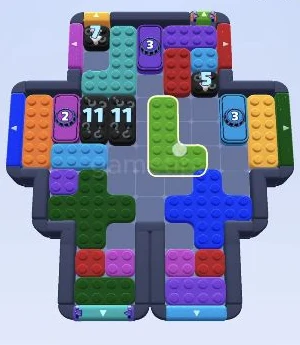
Checkpoint · 3:12Game Tips - 02
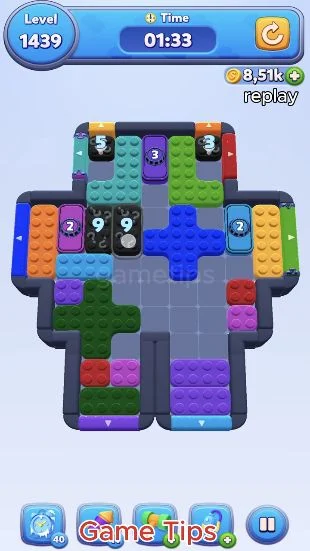
Bring the blue cross into the centre
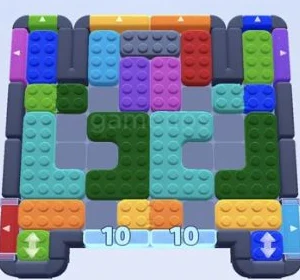
Raise the blue cross into the wide central opening, leaving the green cross below and to the left. The green L is now high on the right. Do not move the blue cross farther up until the upper pieces leave enough width around it.
Watch this section · 3:12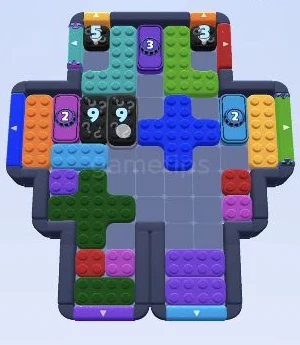
Checkpoint · 3:44Game Tips - 03
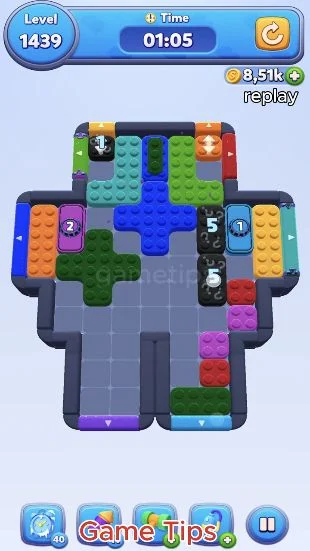
Work around the remaining counters
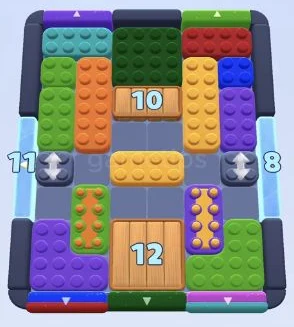
At this checkpoint the blue cross is higher, the green cross occupies the left-middle area, and the two black blocks on the right read 5. Keep using the centre as a shared turning area for these wide shapes; avoid closing it with the side bars.
Watch this section · 3:44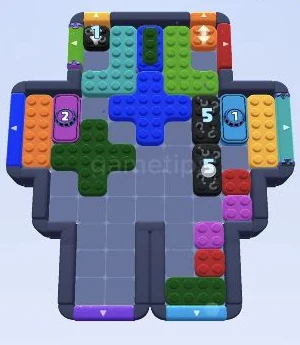
Checkpoint · 4:16Game Tips - 04
Separate the final large shapes
The numbered blockers have cleared. Move the L-shaped pieces through the top working area while the crosses use the middle. A cyan vertical bar remains in the lower-left pocket and a green horizontal bar in the lower-right pocket. Clear those bars without trapping a cross below.
Watch this section · 4:16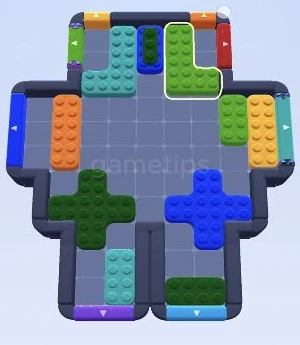
Checkpoint · 4:48Game Tips - 05
Finish through the right green exit
Only a small green bar and the green cross remain. Use the empty middle to align the cross with the right green exit. The reviewed recording reaches the completion screen at about 5:18 with 15 seconds on the game clock.
Watch this section · 4:48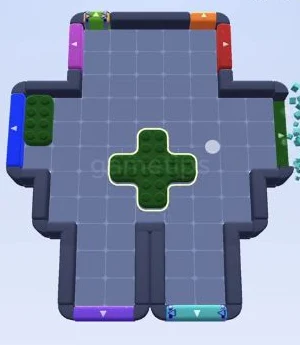
Checkpoint · 5:13Game Tips
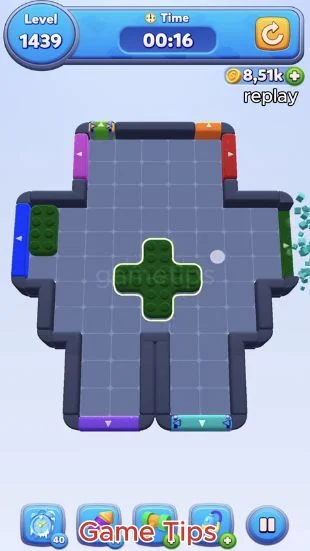
Completion screen at 5:18
Game clock at completion: 00:15. Watch this section ↗
Your checklist stays in this browser. It is not a score or a visitor count.
Where this board can go wrong
- A cross needs more width than a vertical bar. Do not send it into a bottom pocket just because that pocket looks empty.
- The framed pieces and black blocks still have counters. Match their values before copying the next phase.
- The final green cross exits through the right-side green opening in this recording; keep its whole outline clear of the wall.
Original recording
The screenshots and checkpoints were reviewed from one published Game Tips recording. They do not establish the layout of every app version. Use the original video for each individual drag.
Game Tips recording · Level 1439 ↗HELP IMPROVE THE ROUTE
Report a different board or a route issue
Tell us your level, which shapes differ, and where the route stops. You can attach a screenshot in the discussion. Comments are public and require a GitHub account.